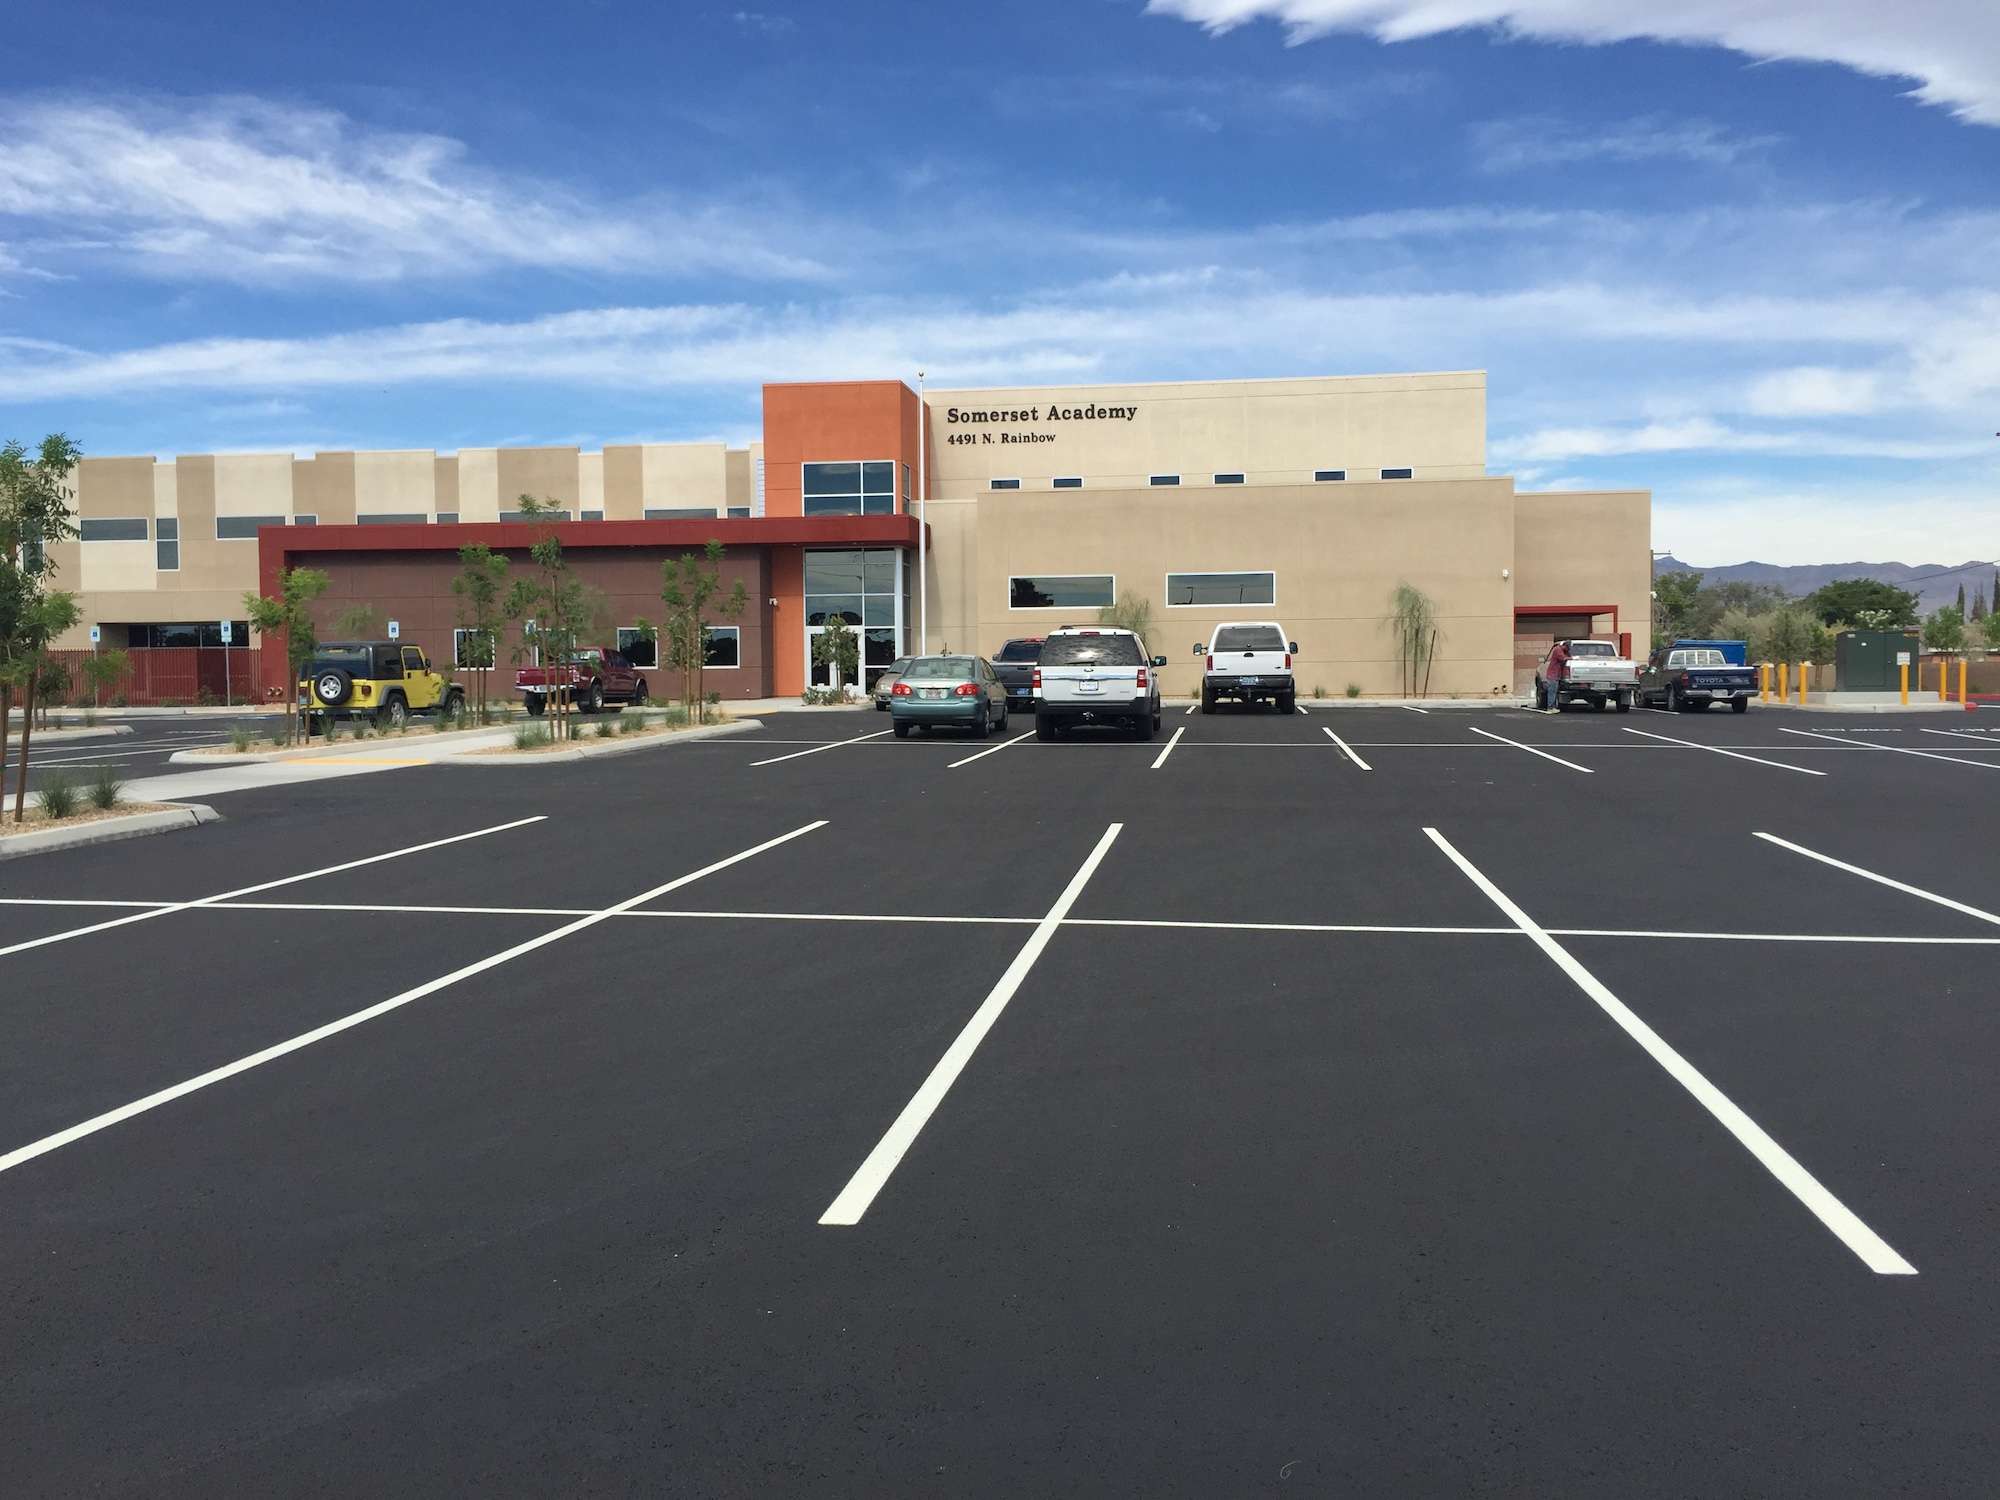
Sealcoating & Preparation
 For many tasks, success hinges on the quality of the preparation. For example, if you want to repaint your living room walls, you must first remove any pictures, fill the holes and protect the furniture. If you paint over stains and dust, the walls are not going to look as good as they would if you cleaned them first. Furthermore, you risk having the paint peel or blister if you do not prepare the surface first. The same concept applies to an asphalt coating. Preparation is the key to a beautiful, long-lasting job.
Sealcoating & Preparation – Safety First
Before performing any work, your contractor will close the area to prevent traffic from encroaching. Whether your contractor uses barricades, traffic cones, signs, barrels, twine or safety tape depends primarily on the contractor’s preferences, the risks at your site and the size of the work area.
Basic Preparation
Your sealcoating contractor needs to get a good look at the condition of the pavement, so the next step is typically to clear away any trash, piles of sand or other debris. If necessary, grass or weeds will be removed from cracks or the edges of the pavement. Spots where gas, oil or other fluids have leaked may need to be scraped or scrubbed with a wire brush so that the sealant will form a strong bond with the pavement.
Make Repairs
Just as a painter must mend cracks or holes in the walls before painting, sealcoating contractors must make any necessary repairs to your pavement before applying the sealant. Potholes and cracks may need to be filled or patched. Areas of severely cracked or alligatored pavement may need to be removed and replaced.
Perform a Thorough Cleaning
Unless it is necessary to apply a primer, the last step before sealcoating is to perform a thorough cleaning of the pavement. The condition of the pavement determines whether your contractor will power wash the pavement or use a push broom, wire brush or air broom. For example, areas with dirt embedded in the pavement or where sand has collected and hardened may need a combination of tools to remove the dirt. If a power washer is used, it will be necessary to allow the water to dry prior to sealcoating, so the contractor may use a broom to spread the water so that it can evaporate faster.
After Applying the Sealant
Sealcoating needs time to cure before traffic can enter the area, so the barricades, tape or cones will need to remain in place for the time specified by your contractor. Be sure that you ask your contractor when the obstacles can be removed and do not remove them before then. You should also ask whether the contractor will be sending someone to reopen the area. If not, you may need to have your employees remove the barriers and save them for the contractor to pick up later.
Your Choice of a Contractor Matters
If you want your sealcoating to last and to look great throughout its life, you need to choose a reputable contractor with extensive experience. Affordable Striping & Sealing is an asphalt contractor that specializes in helping customers extend the life of their asphalt pavements. Our services include sealcoating, parking lot striping, asphalt crack sealing, curb painting, traffic sign installation and road markings. We use the latest techniques and the best materials to ensure that our work will be of the highest quality. If you have more questions about Sealcoating & Preparation or would like to request a free quote, submit our online form or call (702) 222-9009.
See Recent FAQ’s Below
https://affordablestriping.com/answer/parking-lot-striping-cost-benefits/


